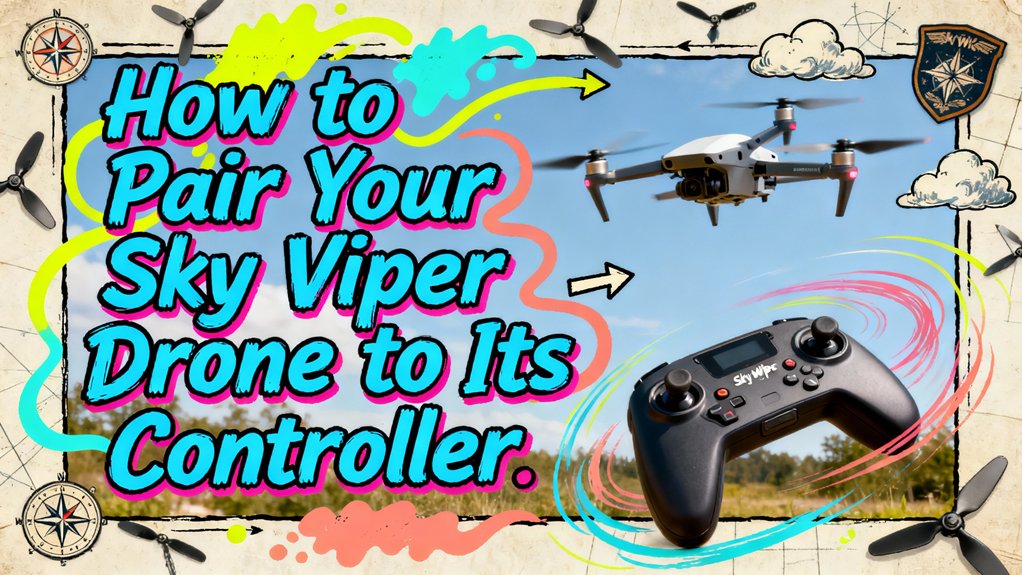
You’ll place your Sky Viper drone on a flat surface with a fully charged battery installed, then power it on and wait for the LED lights to shift from flashing green to solid. Next, insert AAA batteries into your remote controller with correct polarity and flip its power switch to activate pairing mode—you’ll see rapidly flashing lights. Listen for beeping patterns and observe as both devices’ LEDs change to steady states. Once synchronized, your drone responds immediately to control inputs. Each Sky Viper model displays distinct pairing signals worth understanding for troubleshooting.
Getting Your Drone Ready for Pairing
Before you can pair your Sky Viper drone, you’ll need to prepare it properly by setting up its physical environment, connecting the battery, activating its power systems, and confirming that all indicator signals show readiness. Start by placing your drone on a flat, level surface—this prevents miscalibration of altitude sensors and guarantees proper auto hover functionality. Next, insert your fully charged 3.7V 650mAh LiPo battery into the rear or bottom connection point, depending on your model. Battery maintenance is critical; verify full charge to avoid pairing failures. Turn on the drone’s power switch and wait for LED lights to flash. Once you see flashing green lights shift to solid, your drone calibration is complete and you’re ready to proceed with controller pairing. Pairing should be done within the Sky Viper app rather than through your phone’s general Bluetooth settings to ensure proper connectivity. For optimal performance after pairing, you should perform six-axis calibration to ensure your drone responds accurately to controller inputs. Ensure all firmware updates are installed to maintain compatibility between your drone and remote controller. Remember to repeat the pairing procedure whenever your drone or remote restarts to maintain a stable connection.
Powering On Your Remote Controller
Now that your drone’s prepared and powered on, you’ll need to activate your remote controller to establish the pairing connection. Start by verifying proper battery installation—ensure your AAA cells are inserted with correct polarity and contacts are clean. Flip the power switch to activate your controller and observe the LED indicators immediately. You’ll typically see rapidly flashing LEDs indicating active pairing mode. If your controller doesn’t power on after battery installation, remove and reinsert the batteries, then try fresh cells to rule out depletion. Listen for beep patterns; these signal power confirmation or initialization status. Should you encounter no LEDs or beeps, consult your manual’s controller troubleshooting section before proceeding with pairing steps. Your remote controller’s power distribution board works to deliver consistent voltage to all electronic components during the pairing sequence. Push the throttle lever up to its highest position and pull it down to the lowest position to complete the throttle calibration process. Once both your drone and remote controller are powered on, flashing lights indicate the pairing process has begun between the two devices. Confirm the successful connection by waiting for solid or changed light patterns that signal the pairing is complete.
Recognizing Successful Pairing Signals
Once you’ve powered on your controller, you’ll want to watch and listen for confirmation that your Sky Viper’s successfully paired. Multiple pairing signals indicate successful connection. The controller’s LED shifts from blinking to steady, while the drone’s LEDs move from fast flashing to solid or slower pulses. You’ll hear a distinct beeping pattern during pairing attempts, followed by a different solid chime upon completion. Your mobile app’s status changes from “establishing connection” to “connected,” and live video begins streaming consistently. Check your smartphone’s Wi-Fi settings—the SKYVIPER_* network should show as connected. Control inputs now produce immediate drone responses, and motors remain ready for takeoff once GPS lock achieves a green indicator state. Modern drones often feature smart battery management systems that optimize power delivery and safety during your flight operations. For major events requiring advanced visual displays, drone light shows utilize drone light shows with hundreds of coordinated units to create spectacular aerial performances. Successful binding requires that power cycling both units stores the link information between your drone and controller. If pairing fails, try pressing the link button on the drone using a pen or similar tool to reinitiate the connection sequence. If pairing fails, common issues include interference from nearby electronics or misoperation of the pairing sequence. Ensure the remote is within range for effective control to maintain a stable connection throughout your flight.
Understanding Pairing Indicators by Model
While the general pairing signals you’ve learned apply across Sky Viper models, each drone variant uses distinct indicator patterns that you’ll want to recognize. The Nano Drone (m500/m550) and S1750 Stunt Drone display flashing lights that change to solid during the pairing process. The Hover Racer adds an audio cue—a single chime—confirming successful connection. The FPV Streaming (v2400FPV) uses flashing green light signals specifically. The Journey GPS (v2700) differs greatly, cycling red and green LEDs until achieving satellite lock, indicated by a solid green indicator. Placing your drone on a flat, level surface before initiating pairing helps stabilize the device and ensures accurate sensor alignment during the connection process. You can document the pairing process by recording video on your smartphone to capture the light signal patterns and timing sequences specific to your model. Most autonomous drones rely on onboard sensors like gyroscopes and accelerometers to maintain stable flight during initialization. If you plan to operate your drone at night, ensure it is equipped with anti-collision lights that meet FAA requirements for nighttime flight. Before flying over private property, always check state and local laws regarding drone operation and privacy restrictions in your area. For beginners, understanding your specific model’s light signals guarantees you’ll accurately verify successful pairing before attempting flight operations, similar to how intuitive app-based controls make beginner drones safer and easier to operate.
Resolving Common Pairing Problems
Even with a solid understanding of your model’s pairing indicators, you’ll occasionally encounter binding failures that prevent your drone and controller from establishing a connection. Battery issues are the primary culprit—swap in a fully charged, known-good battery and verify connector pins are clean before attempting pairing again. Low voltage prevents your drone from entering pairing mode entirely. Next, address signal interference by moving to an open area away from Wi-Fi networks, Bluetooth devices, and metal structures. Enable airplane mode on your smartphone, then activate only Wi-Fi for app-based pairing. If problems persist, perform a factory reset using your model’s documented sequence, then recalibrate sensors. These steps resolve most pairing failures quickly and effectively. Robust wireless communication networks are essential for maintaining stable connections between your controller and drone, so ensure your operating environment minimizes signal interference. If your controller LED fails to illuminate during connection attempts, try a direct USB connection between the controller and drone to bypass wireless pairing issues. The flight controller processes data from accelerometers and gyroscopes to stabilize your drone during the pairing and calibration process. Installing a compatible smartphone app enables you to send control signals wirelessly to your drone once pairing is complete. Once synchronization is complete, the drone’s lights will stop blinking and you can proceed with joystick calibration to ensure responsive flight control. After successfully pairing your drone and controller, press the power button once, then immediately press and hold it for about one second until you hear a descending audible tone and the controller powers down.