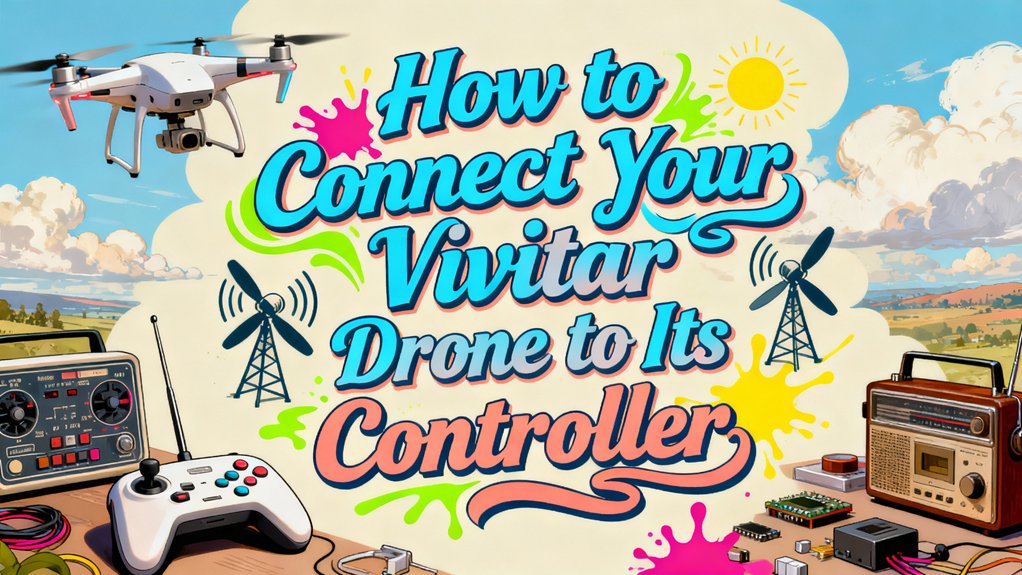
You’ll power on your drone, then activate your controller with fresh batteries. Push the throttle stick fully up to initiate binding—you’ll see the drone’s lights shift from flashing to solid red and green, confirming synchronization. Calibrate your controller sticks by moving the throttle fully up and down. Arm the motors by pushing throttle upward and returning to neutral. Complete GPS and compass calibration on a level surface using your app. These foundational steps prepare your drone for stable flight performance and reliable control response.
Preflight Preparation and Hardware Checklist
Before you power up your Vivitar drone, you’ll need to verify that all hardware components are in proper working condition. Start with battery maintenance by checking your drone’s battery for swelling, damage, or corrosion. Ascertain it’s fully charged to the manufacturer’s recommended level, typically 100%. Verify your controller’s batteries are installed and charged; carry spares as specified in your manual. Pre-flight inspection is essential for identifying minor errors before takeoff and reducing the risk of unexpected issues during flight.
Next, conduct a thorough drone inspection. Examine propellers for cracks, warping, or bends, replacing any damaged ones. Confirm they’re correctly installed and securely fastened. Check motor shafts for free rotation and inspect the airframe and motor arms for structural damage or loose screws. Verify all contacts are clean and connectors are secure before proceeding to connection setup. Like professional synchronized flight paths used in coordinated aerial performances, your drone’s motor systems must be perfectly aligned for optimal performance. For night operations, ensure your controller display and any accessory lighting systems are functioning properly to maintain visibility and safety compliance. As of 2025, Canadian drone operators should be aware of updated technical standards and insurance requirements that may affect their equipment and operational procedures.
Power-On Sequence and Basic Binding
Now that you’ve verified all hardware components, you’re ready to establish the connection between your Vivitar drone and its controller through the power-on sequence and binding process.
First, confirm battery verification by ensuring the drone battery is securely inserted. Press and hold the ON/OFF switch on the drone’s bottom for 3 seconds until lights activate. Simultaneously, power on your remote control by pressing its ON/OFF button after inserting four AA 1.5V batteries with correct polarity. The drone’s navigation lights will illuminate during this initialization phase.
Next, initiate the binding process by pushing your left throttle stick fully up, then returning it to neutral. Your drone’s flashing lights will shift to solid red and green, confirming successful synchronization. This visual feedback indicates your remote and drone are fully connected and ready for flight operations. The entire linking process typically completes within seconds, comparable to other remote controller binding procedures. After successful binding, power cycle both units to store the link information and ensure reliable communication for flight control. If the connection fails, perform a gyro and compass calibration as part of the setup to ensure proper drone operation.
Controller-Stick Calibration and Motor Arming
Once you’ve successfully bound your remote to the drone, you’ll need to calibrate the controller sticks and arm the motors before flight. Start the calibration process by pushing your throttle stick all the way up, then pull it down completely. This programs your remote to the drone’s specifications.
Next, activate the motors by pushing the throttle stick upward and releasing it to neutral. The motors will activate, indicating successful arming. To lock the motors again, push the throttle stick down and release it. The motors will stop after three seconds. Remember that recalibration is required each time you power off and back on your drone. A successful link is indicated when the drone’s lights change from flashing to solid. The DRC-188 model features beginner-friendly one-key return functionality that simplifies emergency landings.
Always perform stick calibration immediately after powering on your remote and before gyroscope calibration. Completing this calibration process guarantees proper flight control response and prevents potential malfunctions during operation. Unlike premium options with built-in screen displays, the Vivitar controller requires smartphone connection for enhanced FPV capabilities. For drones with WiFi FPV capabilities, you may also need to establish a smartphone connection through the dedicated app once your controller synchronization is complete.
Wi‑Fi and Smartphone App Pairing
To enable live video streaming and remote app control, you’ll need to connect your smartphone to the drone’s Wi‑Fi network and pair it with the official Vivitar app. Power on your drone first, then access your phone’s Wi‑Fi settings and select the drone’s SSID—typically formatted as “SKEYE” or “SKEVE” followed by unique digits. Download the model-specific Vivitar app from Apple App Store or Google Play, ensuring version compatibility with your drone model.
Grant the app necessary permissions: camera access, local network/Wi‑Fi access, and location services for Follow‑Me features. Launch the app and select “Start” to enter the FPV interface. The app will prompt you to grant location access when first initialized to enable full functionality. For advanced autonomous capabilities, consider integrating a companion computer to expand your drone’s functionality beyond basic remote control. Be aware that drone surveillance is subject to state and federal regulations that may restrict where and how you can operate your device. Before flying, verify you are operating in uncontrolled airspace or have obtained proper authorization for controlled airspace. Different Vivitar models offer varying levels of camera stabilization technology that may affect your live video quality during transmission. When operating over private property, ensure you comply with local privacy laws that may restrict repeated overflights or unauthorized recording. If live streaming fails, verify your phone remains connected to the drone SSID, as devices often auto-switch to cellular networks. Toggle Wi‑Fi off/on, rejoin the network, or reinstall the app to restore connection stability.
GPS and Compass Calibration
Before your Vivitar drone can achieve stable flight and accurate GPS positioning, you’ll need to calibrate both its gyroscope and compass—two essential steps that establish the drone’s internal navigation baseline. Start gyroscope calibration by pushing both controller sticks down to the 7:00 position for 2-3 seconds on a flat surface until the lights solidify red and green. Next, initiate compass calibration by pressing the calibration button; your drone’ll beep and flash. Rotate the drone clockwise three times with its front facing you until red lights steady, then pick it straight up and perform three vertical rotations until green lights solidify. Avoid magnetic interference by keeping ferromagnetic materials and metal sheets away from your calibration area. Ensure your battery is fully charged before beginning calibration to maintain stable power during the process. For optimal results, place the drone on a stable, level surface during the entire calibration procedure. Proper calibration establishes the internal navigation baseline that allows your drone to maintain accurate positioning at various altitudes and ranges. Consider using a centralized ground control station to manage your drone’s calibration settings alongside other connected devices for streamlined operations. After calibration is complete, you can activate the drone using the controller to prepare it for GPS mode. Complete these steps before enabling GPS mode.
Troubleshooting Common Connection Failures
Despite completing GPS and compass calibration correctly, you may still encounter connection issues between your Vivitar drone and controller. Drone connectivity issues often stem from battery problems—fully charge both devices and inspect them for damage like swelling or dents. If you’re experiencing controller sync challenges, power cycle both devices completely, then push the throttle stick fully up and back to neutral. Watch for solid red and green lights confirming successful pairing. Check that you’re using the bottom USB port on your controller, as the side port causes intermittent failures. If beeping persists, your joystick may need recalibration. Update your app to the latest version and enable USB Debugging on Android devices to resolve connection problems. Allow your battery to cool to room temperature before attempting to sync with your controller if you’ve just completed a flight. Radio interference from nearby electronic devices can disrupt the signal between your drone and controller, so ensure you’re flying in open areas away from potential sources of disruption.